Enterprise Recon 2.3.1
Agent Group
To run a distributed scan in ER2, an Agent Group must be assigned to a Target or Target location.
To assign an Agent Group to an existing Target or Target location, see Edit Target.
Create an Agent Group
To create an Agent Group with two or more Proxy Agents:
- Log into the ER2 Web Console.
- Go to the Settings > Agents > Agent Admin page.
- Click on Create Agent Group on the top right corner.
- Enter a descriptive name for the Agent Group. The character limit for the name is 256.
- Click on the Add new agent menu and select Proxy Agents to add to the current Agent Group.
- When prompted, click Yes to confirm the addition of the selected Agent to the Agent Group.
Manage an Agent Group
To view, add or delete Agents from an Agent Group:
- Log into the ER2 Web Console.
- Go to the Settings > Agents > Agent Admin page.
- Click on the Agent Group name in the first column. Agent Groups are indicated by the
 symbol.
 -
The Agent Group Details page shows the Proxy Agents assigned to the group, and details of the scan jobs assigned to each Proxy Agent.
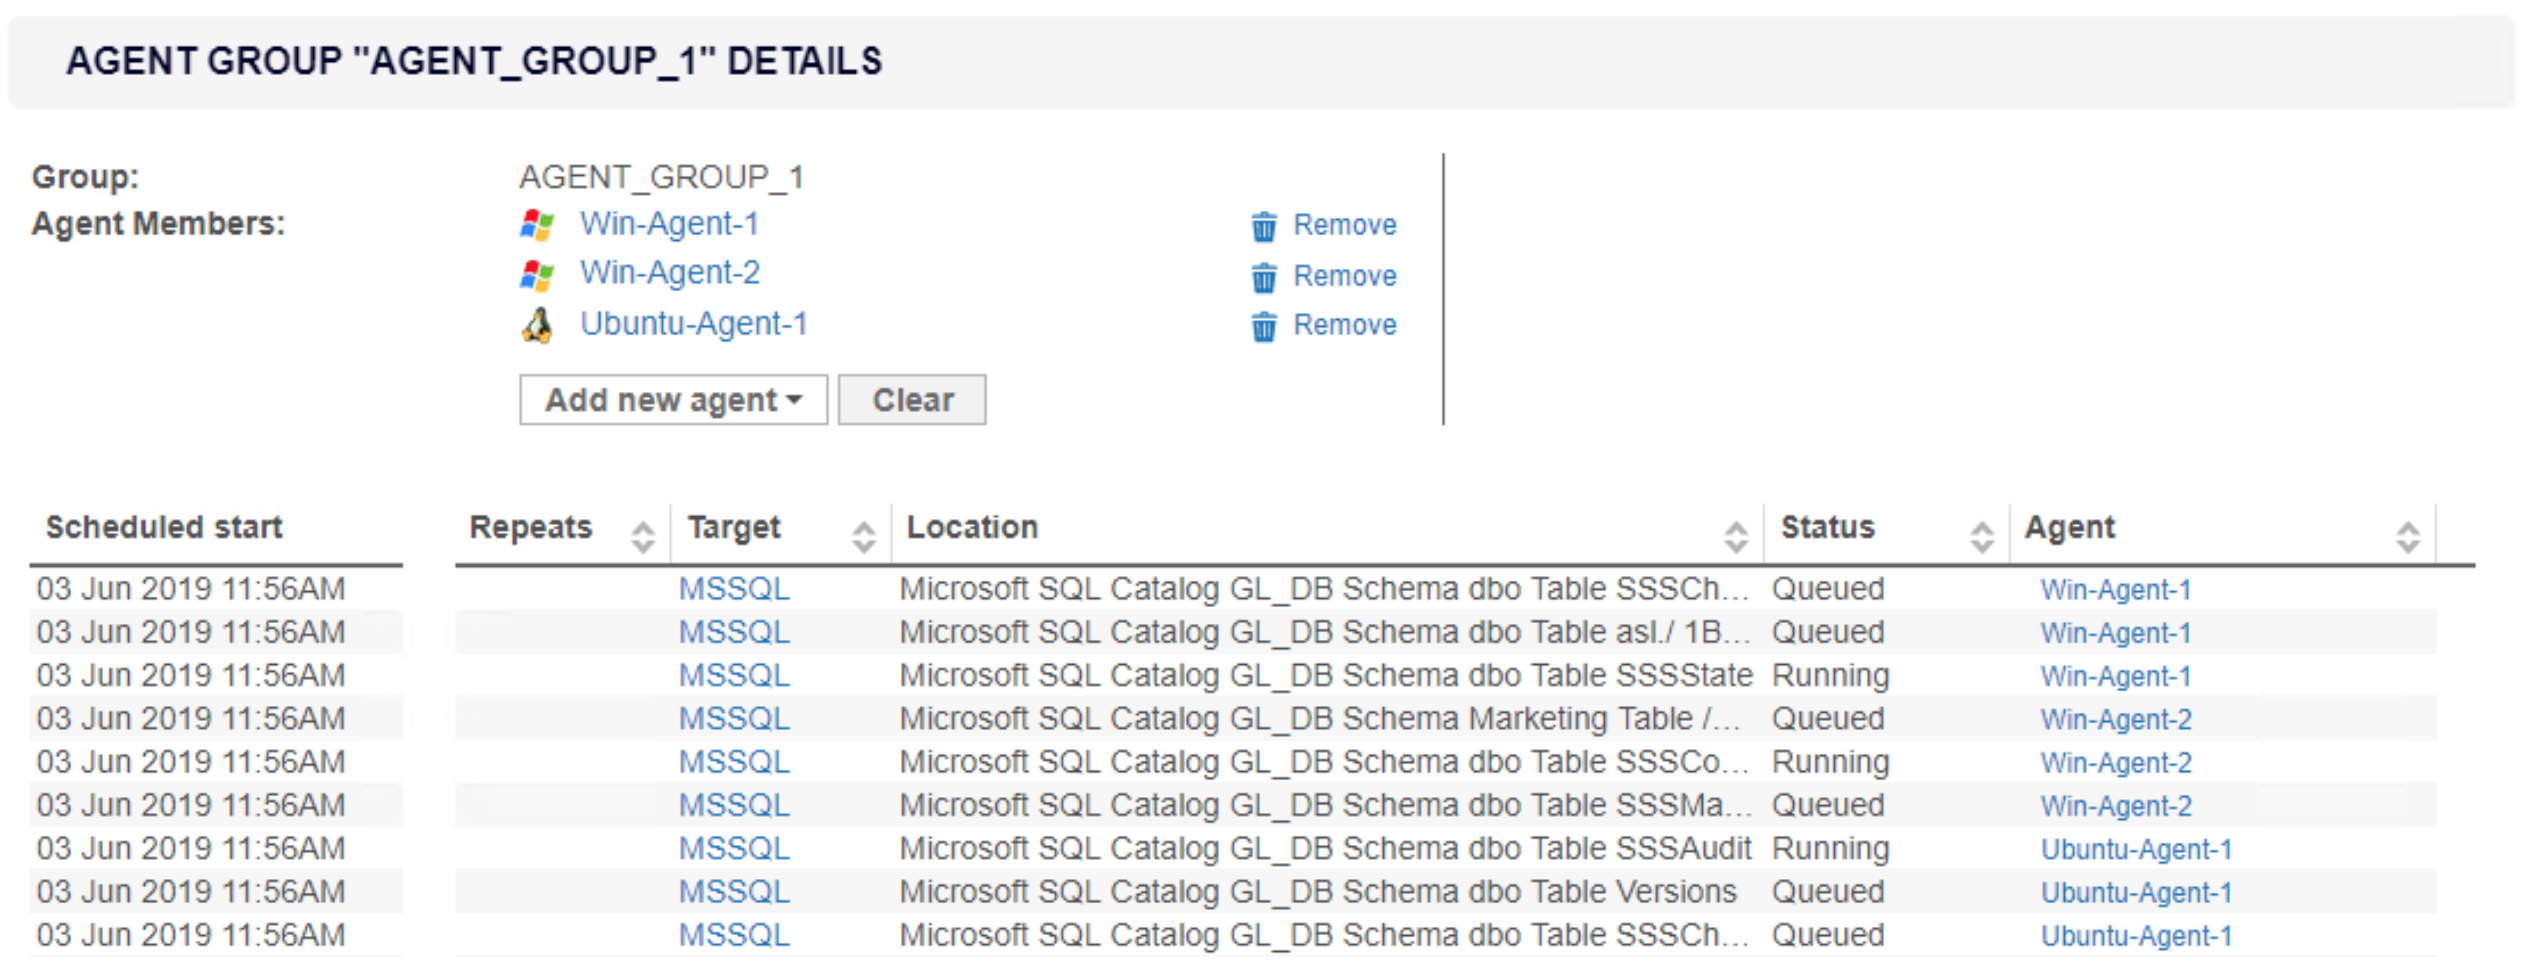
Column Description Scheduled Start Time that the sub-scan is scheduled to start. Repeats Indicates the frequency for repeated scans. Target Target to be scanned. Location Target location or path for each sub-scan. - (Optional) Click on the Agent name to view information and system statistics about the Agent host.
- (Optional) To delete an Agent from the Agent Group, click Remove.
- (Optional) To add more Agents to the Agent Group, click Add new agent.