DATA RECON 2.0.25
Running the DATA RECON GUI
When the DATA RECON runs, it looks for these files in its directory:
- datarecon.cfg: default DATA RECON configuration file.
- <license-file-name>.li2: OFFLINE LICENSE FILE; DATA RECON looks for any file ending with .li2.
If it finds any of these files in the directory that the DATA RECON executable occupies, it will try to load them when the DATA RECON runs.
To run DATA RECON:
- Double-click on the DATA RECON executable (e.g. datarecon_gui_2.0.xx.exe) to run DATA RECON.
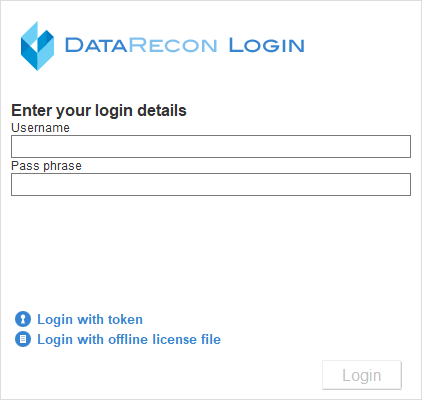
- In the DATA RECON login window, enter your Ground Labs Services Portal user name and password.

-
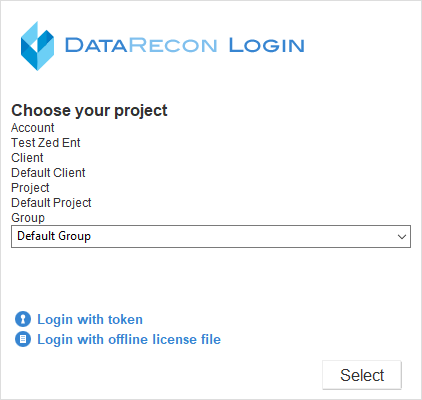
From the Choose your project list, select your project and click Select.
 Managing licenses
Project and license groups are usually used by the licensees or IT administrators who manage your software licenses to assign permissions to certain groups of users.
If you are not sure of which project or license group to use, contact your IT administrator or the licensee for more information. If you are the licensee, IT administrator, or the only user, you can choose Default Project or Default Client.
For more information on how to manage your licenses, please see DATA RECON Licensing. - On the dashboard, select the card data types to include in your scan.

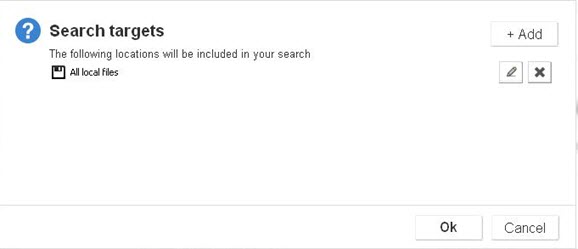
- (Optional) Click Search all local files to change the Target that you want to scan (the default Target is the host’s local storage). See Selecting Target Location for more information.

- Click Search to start scanning.

When you click Search, DATA RECON checks if you have valid licenses for the Targets that you wish to scan, and prompts you if you do not.
After a scan is completed, you can see the scan’s results. For details, see Results and Remediation.